


At Low Cost Signs, we have hundreds of professional sign design templates that you can customize in minutes with your exact text to create the message that you want to convey to your customers. We realize that not everyone as a degree in Graphic Design or Computer Science. Since we do, we want to help you get the most out of our site and we created a very easy to use system of ordering signs online. We did all the work so that you could get a professional sign in just minutes!
To begin, Click on the Design Online link at the top navigation bar of our website. Then choose the product category that you want from Outdoor Banners, Plastic Signs, Vehicle Magnets or Metal Signs. When you click on these categories on , you will be shown the corresponding sign template design galleries below, then you can further customize these templates by Keyword, Sign Size or Category. You can even choose by color as a keyword!
Next, click the sign template that you want to customize. This will automatically be opened in our online sign template editor. Now the real fun begins!

In the above example, we selected the Farmers Market Today, design template. You can see we highlighted the quickest way to change the text in any design (see bright green highlight). Get started by clicking on a text item in the design, then just change the text in the ‘Quick Text Edit’ box as shown. Repeat this Step for all text on the design template that you want to change.
Next you can change any color of any text or backgrounds, borders, etc. by clicking on the item, then clicking from the standard colors in the palette to the left. You can see there are top and bottom scroller arrows that will allow you to see more colors in this predefined color palette.
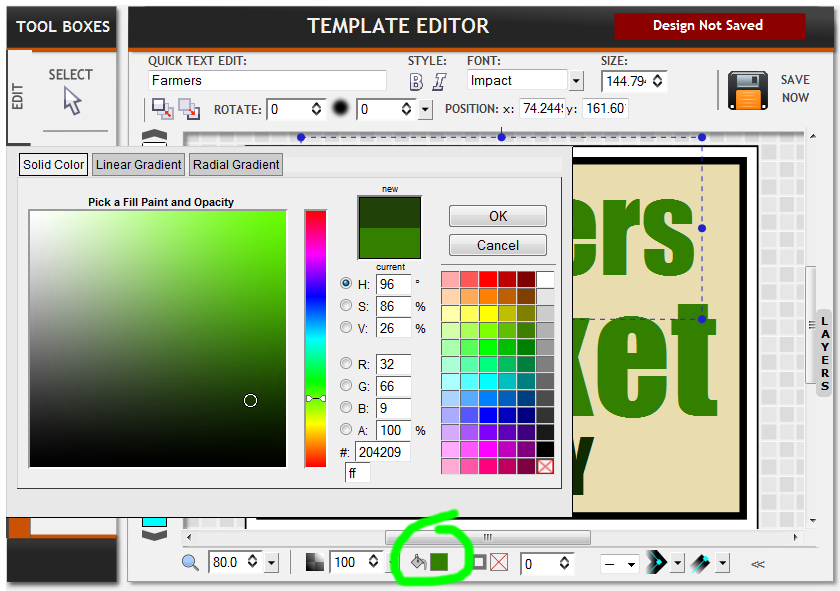
Quick Tip: You can also choose any custom color by clicking on the Paint Bucket Icon at the bottom center of the editor, this will open a color fill dialog palette and allow you to click on any color.
Now that you know how to edit and change any color, we will take a look at how to change the font for any text.
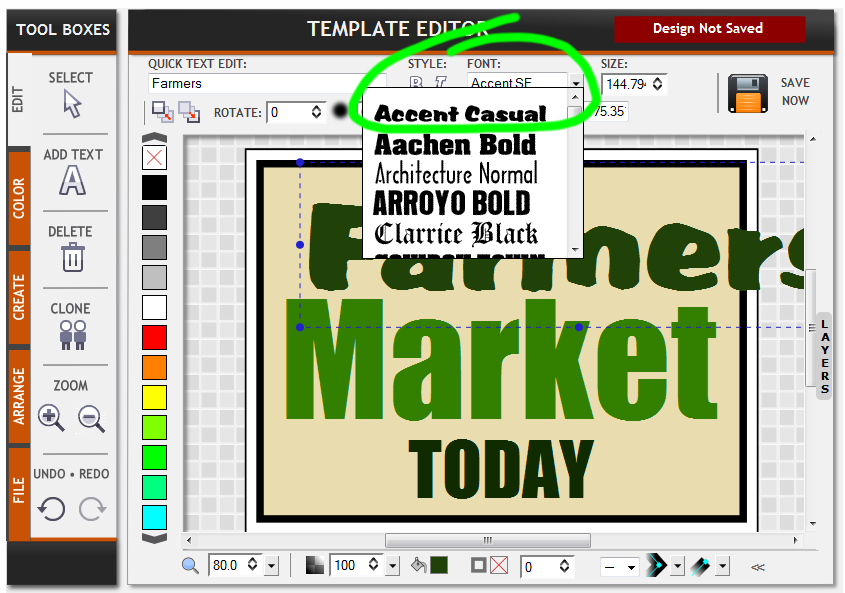
When editing the font for any text, you must make sure that you have the text selected. You will know that you do when selected text displays several small round blue dots and a dashed blue line surrounding that text object. If you do not see these, then click on the Select Tool on the upper right side of the editor, the tool with the ‘Arrow’. Then click on the text and you should see the the blue dots & dashed lines. Now you can choose the “Font” drop down arrow and then click on your preferred font as show above.
Then you may see that the new font needs some sizing adjustment, since each font is a slightly different proportion. Adjusting this is easy! Make sure that you select the text to be sized and you can select any of the ‘Blue Dots’ by clicking, while holding the left mouse button down, then dragging or moving the mouse to size the graphic larger or smaller. When you are done sizing the text, release the left mouse button. Then you may want to move the text to another location or center it on your design. This is done by clicking the left mouse button one the text while holding the mouse button down, then dragging the text to the desired position, then releasing the mouse button when satisfied. See how easy that is?!
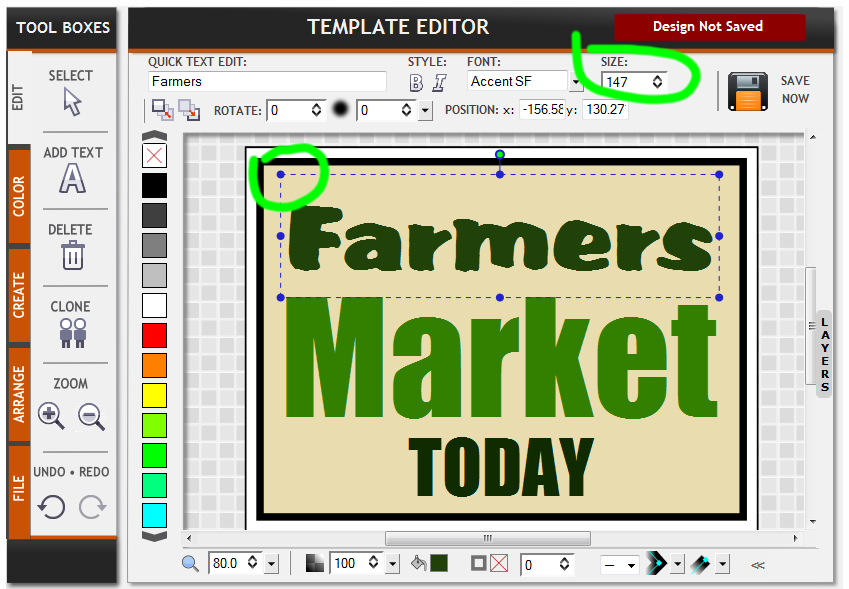
You can also change the size of the text manually by typing the font size as shown in the attached image. Notice that if you click the up or down arrows in this dialog, it may default to a 1pt type, if so, don’t worry, just keep clicking it UP until the font increases to the desired size or you can manually type a font size in points. Since we are dealing with signs that are much larger than traditional page sized points such as 12pt type, the average size in points on a sign is 80. (In case your wondering, we have actually converted the scale of our templates to generally represent points to pixels, in simple terms)
Leave a Reply
You must be logged in to post a comment.